

If you’re unable to get the automatic upgrade for Windows 10 to work with your Dell Venue 8 Pro, try using the Microsoft media creation tool to get there. Depending on how much free space you have, an SD card may be required for the download to be stored. The media creation tool will prompt you if you’re short on space for this operation.
For my upgrade, I opted to have the media creation tool and Windows 10 setup wipe everything so I could start fresh. Since all of my important files, pictures, etc. are sync’d online, I wasn’t concerned about the loss of any local content. This is probably not the case for most people, so back up your files before you start. Note that although this was written with the Dell Venue 8 Pro in mind, this process works on an activated Windows 8.1 setup as well. The key is it must be an activated instance of the operating system, or the tool will prompt you for the appropriate product key.
Important PSA: Once you do this process, there is no going back to Windows 8.1 unless you have some full system image of your Venue 8 Pro before you start. So proceed with caution and at your own risk.
I’ll walk you through the process. Let’s get started:
1. Download the 32-bit Windows 10 Media Creation Tool from Microsoft: http://windows.microsoft.com/en-us/windows-10/media-creation-tool-install. Be sure to use the Windows 10 version in this link, not the Windows 8 version.
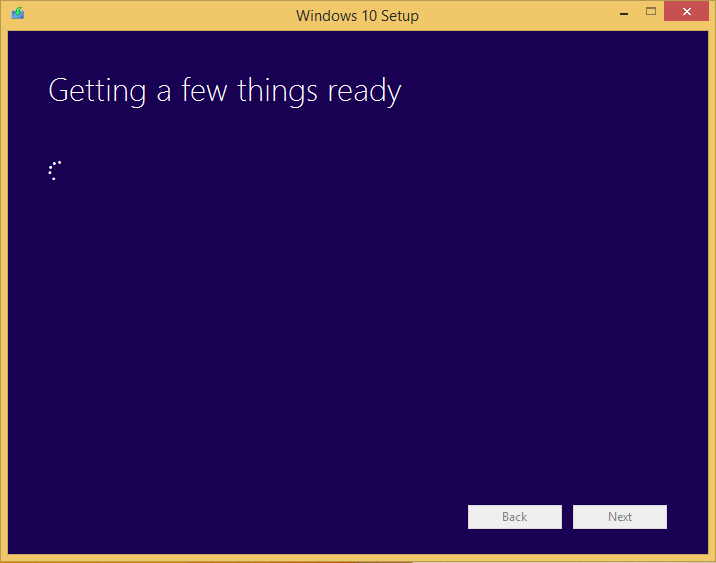
2. Start the media creation tool from where you downloaded it. It will run through a few things to get it “ready”.
3. When prompted for “What do you want to do?”, select “Upgrade this PC now”, then click Next. (side note: The Windows 8 version of the media creation tool only lets you create a DVD or thumb drive, not upgrade/downgrade.)

Wait patiently while it downloads a copy of Windows 10 to your Venue 8 Pro. Before this process starts, it will tell you if you have enough space to proceed, or if you need to find somewhere else to put the installation files.

4. Review the license terms, click Accept.

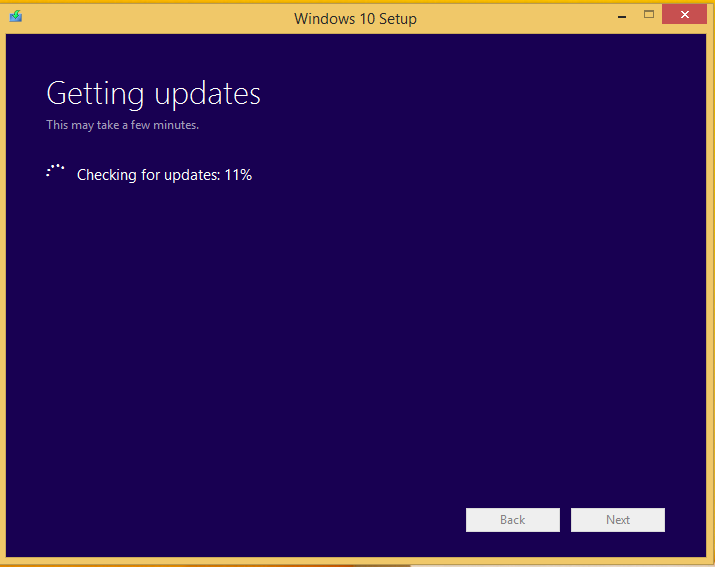
The setup will check for some more updates; be patient.
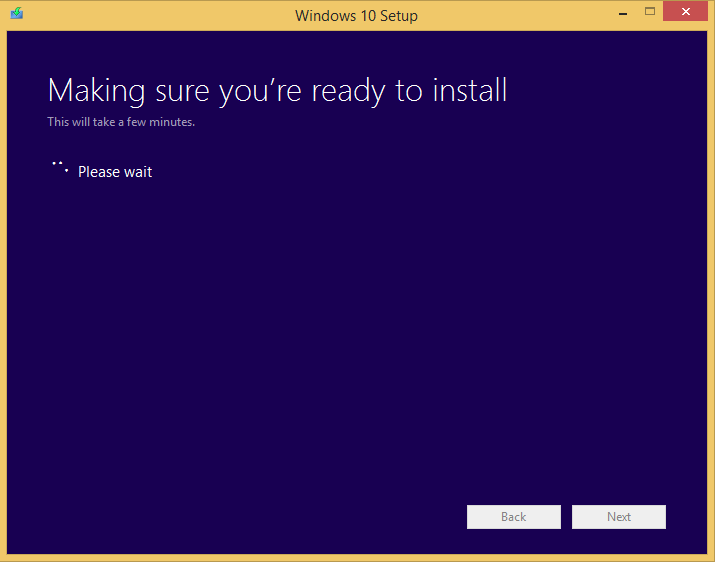
It might check one more time to really make sure it’s ready.
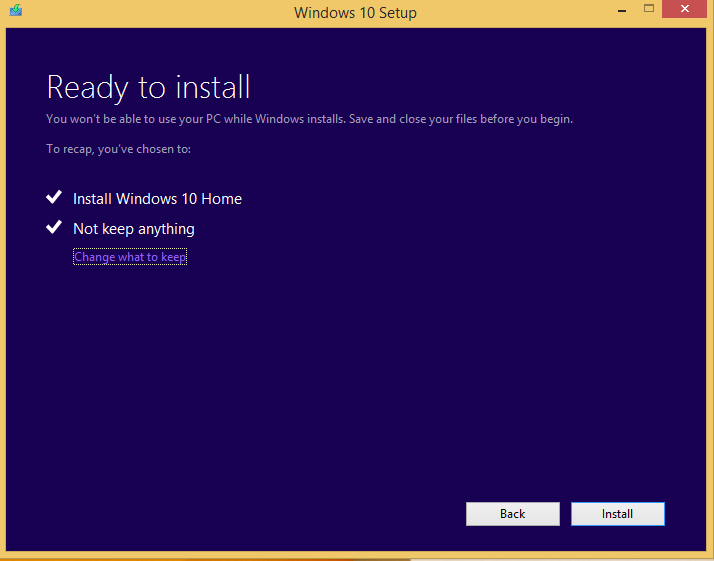
5. It’s ready to install now. At this point, you can change what to keep (apps and settings, nothing, etc.). It defaults to do an upgrade and keep your personal files and apps.

If you click the “Change what to keep” link, you get this:
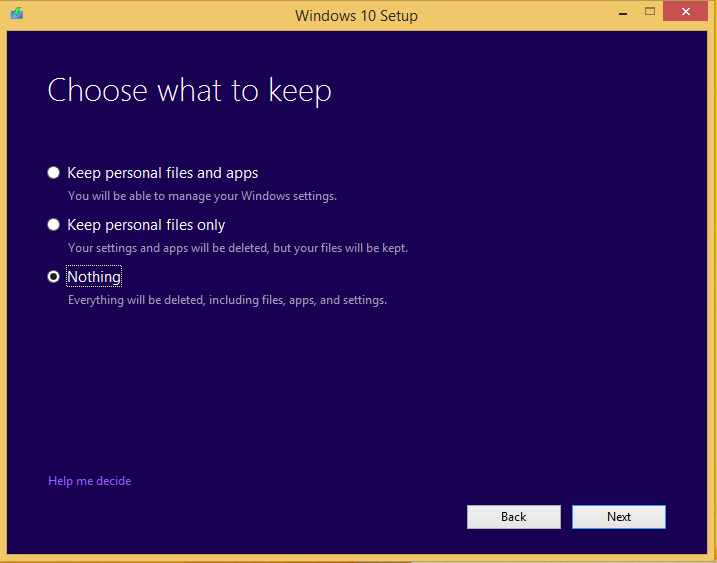
6. I wanted a fresh slate, so I chose “Nothing” as my option, and then clicked Next. Because you changed that option, it will check again to see if it’s ready to install and bring you back to the “ready to install” screen when the check is complete. From there, you can click Install.
Now it’s going to start installing Windows 10. As it says on the screen, it will reboot several times. Now you can wait patiently some more while you Venue Pro 8 turns itself into a super productive Windows 10 machine.

If you are new to the Windows 10 setup process, when it does reboot, it shows you a different screen with the setup status. This will give you a good idea of how far along you are. It will go through copying files, installing features and drivers, and configuring settings. This part can take a bit to complete.

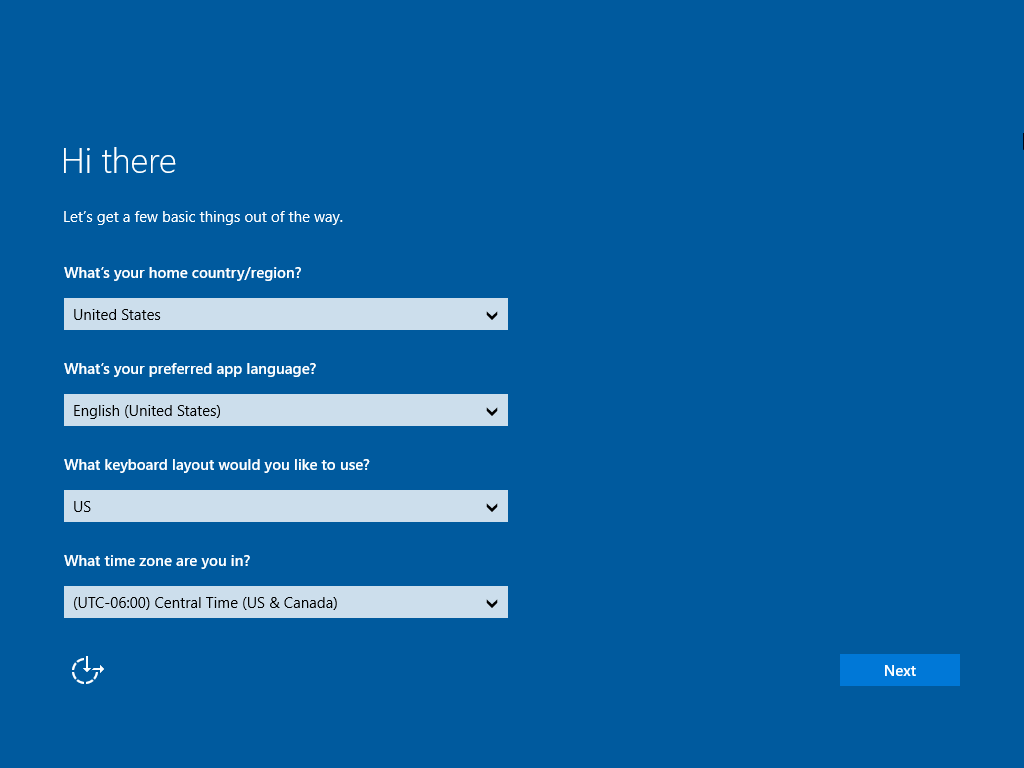
7. Once the setup is complete, you’ll be greeted with a blue screen (not the bad kind, that will walk you through some of the personalization. when complete, click Next.
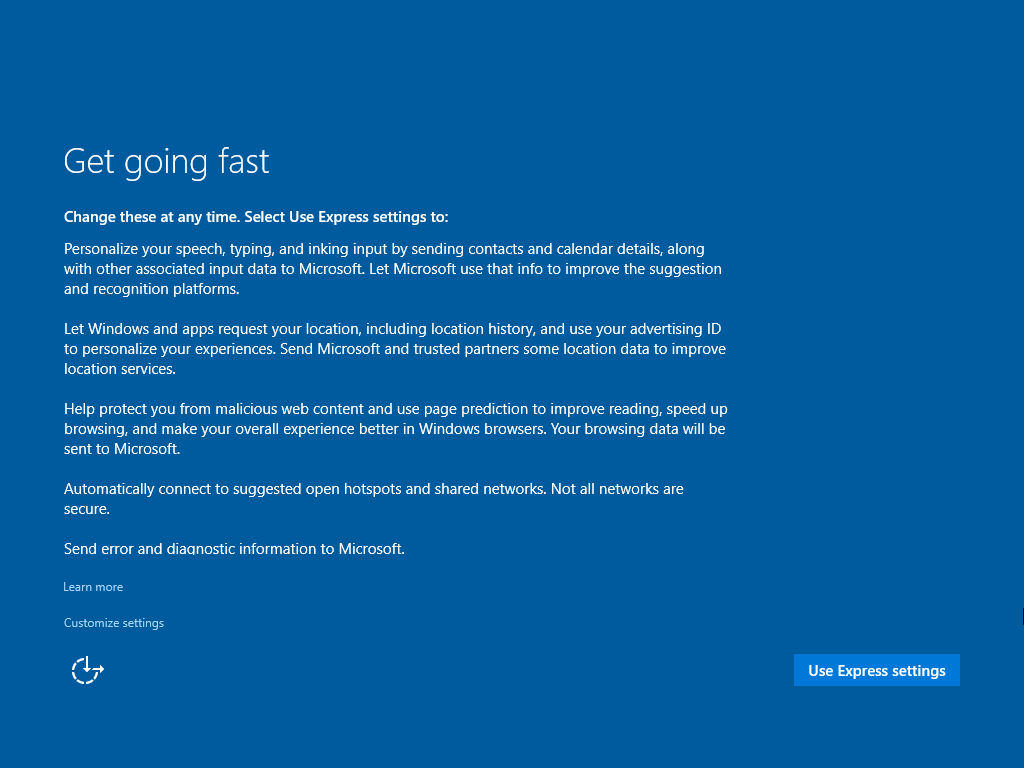
8. “Get going fast.” This is where your only choice is the “Use express settings”. Cause that’s what you have to do to get going fast.
9. Provide your Microsoft account username and password so you can link it to your machine. You also have the option to skip this step or create a new Microsoft account, but I’ll complete it this time around.

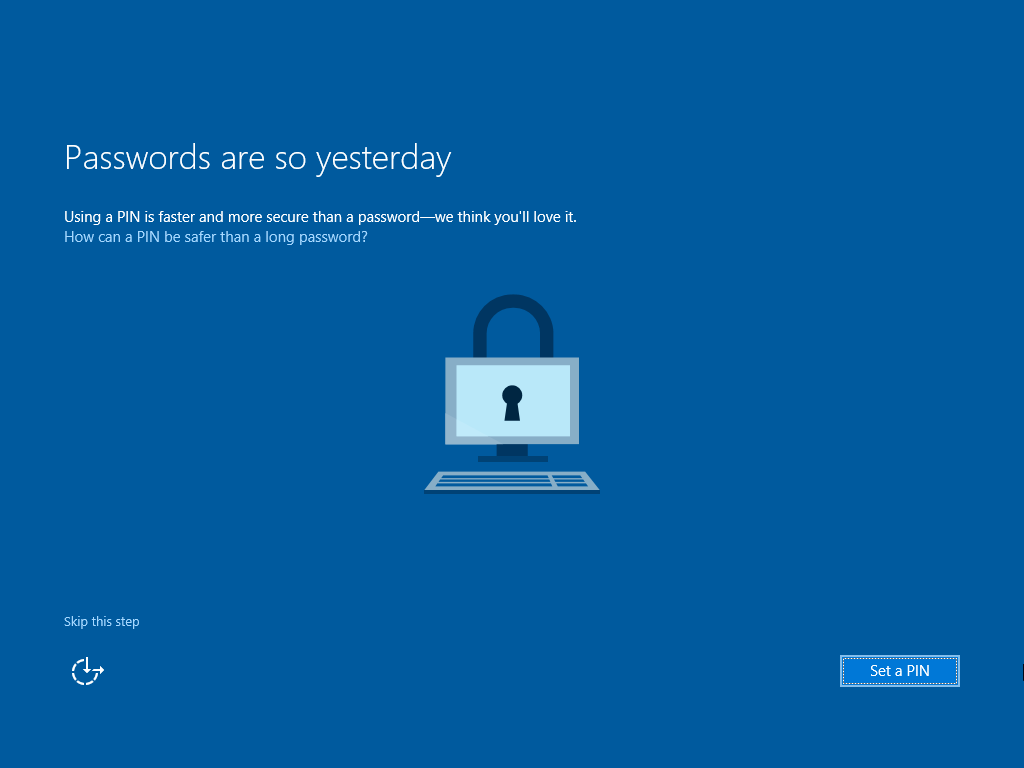
10. Set a PIN. I like this change in Windows 10. Although most company group policies won’t support it, I like the easy of having to only enter a PIN vs. my 16 character with 12 special requirements type of password. You have the option to skip this step as well, or you click the button to “Set a PIN”.
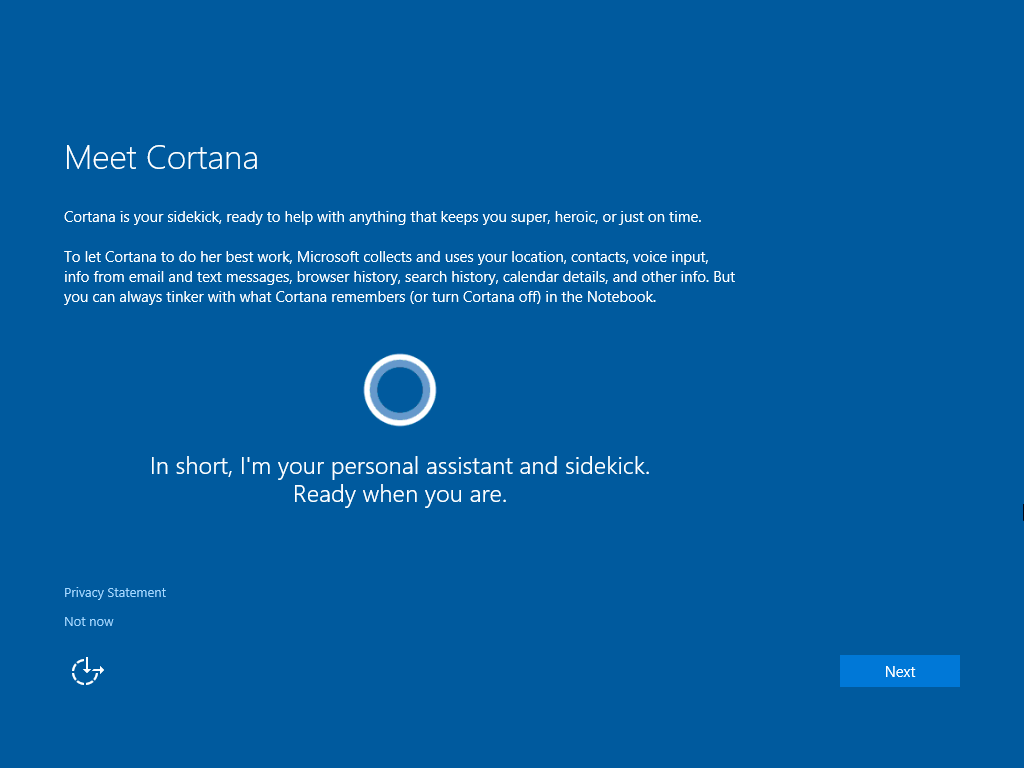
11. Cortana is here. Just click Next.
At this point, you’ll see the familiar screens (similar to Windows 8 setup) as it puts the finishing touches on the installation.

Bam! The installation is complete and brings you into the Windows Desktop.

You just used the Microsoft media creation tool to upgrade your activated Windows 8 installation on the Dell Venue 8 Pro to Windows 10. Going through this process, I also learned a few new things. Here are some pointers:
- I found that my Dell Venue 8 Pro BIOS version was A2. This is pretty old as the current released version is A11 (7/21/2015). It is most likely a good idea to upgrade that before doing your Windows 10 upgrade. As a side note, it appears that Dell has rev’d the BIOS from a number of their products, specifically those which are certified to work with Windows 10.
- There are a number of driver updates for the Venue Pro 8 which are specific to Windows 10. You can find those here.
- Make sure you have your Venue Pro 8 on a charger during this entire process, especially if you’re doing BIOS upgrades.
- I “kept nothing” when I started the upgrade which left me with around 9GB of free space once everything was said and done. You can free up another 1GB or so if you remove the “Windows.old folder, which requires some work to go (it’s not a simple “delete” from Windows Explorer).
- Tablet mode is on by default. (see below)
A note on Windows 10 Tablet Mode. Remember that Windows 10 is designed to work with non-touch PC’s and touch devices, like a tablet. When you upgrade the Venue Pro 8 to Windows 10 and you go into the desktop, it will most likely default to tablet mode. How you can tell is when you touch the Start button the screen, it brings you to the tile layout so you can touch what you want to do. This is the tablet mode aspect of it.

If at first you weren’t expecting this, and you are anti-Windows 8, this might upset you. But it’s easy to change. Just click on the notification icon in the tray (it looks like a caption bubble), and click the “Tablet mode” button at the bottom of the Action Center to turn it off. You’ll notice that the color of that button will change.

Once you turn off Tablet mode, you’ll get more of the expected result (a normal Start menu) when you click the Start button.
